Valor Mortis PC Stutter Fixes: A Practical Post-Update Checklist
Diagnose Valor Mortis PC stutter after the October 27 update with shader-cache checks, repeatable performance tests, and safe settings changes.
By Valor Mortis Guide editorial team · Last updated
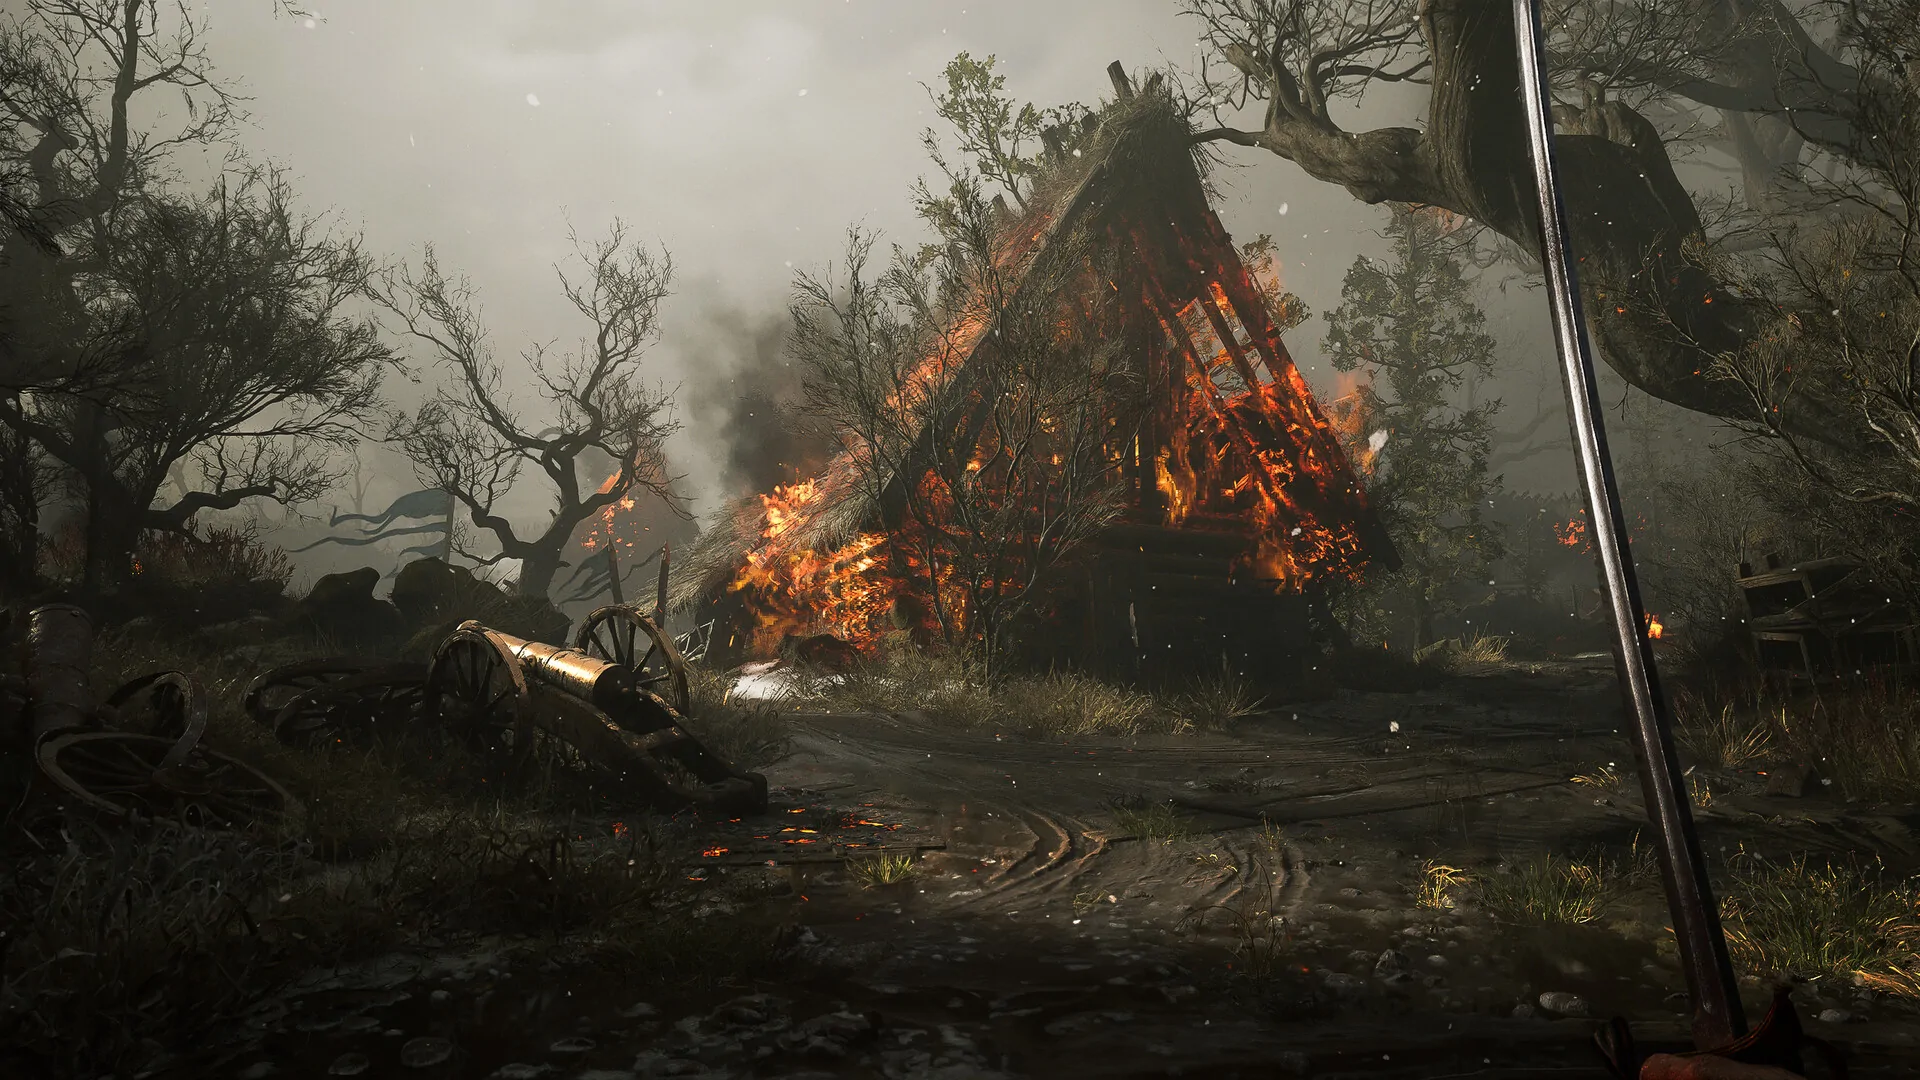
The October 27 Halloween update includes additional work on stuttering and frame rate, with a specific warning that PC players may need to recreate their shader cache. If you returned for the new Rapier and Saber critical attacks but movement still feels uneven, start with a controlled comparison. This guide explains a troubleshooting process rather than promising a universal settings preset. A stable result depends on your machine, display, current drivers, game build, and the area being tested.
First identify the kind of slowdown
Separate a consistently low frame rate from intermittent pauses. If every camera movement feels similarly slow, reducing rendering workload is a reasonable first experiment. If the game moves smoothly between occasional sharp interruptions, investigate frame delivery and repeatability before sacrificing image quality. A single average frame-rate number can hide the difference. Observe the same short stretch of gameplay several times and write down whether the pause occurs at the same doorway, attack, camera turn, or new visual effect.
Keep combat and travel tests separate. A crowded fight introduces enemy behavior, particles, aiming changes, and animation changes at once. Start with a safe route you already know, then repeat one ordinary encounter when you have a stable baseline. If travel is smooth but a particular action repeatedly hitches, record the action and weapon. That report is more useful than saying the whole game is unplayable, and it stops you changing unrelated settings to solve an isolated event.
Confirm the installed update before testing
Close the game and check that Steam has completed pending downloads. Relaunch only after installation has finished. Record the date, your current game version if the menu exposes it, and whether the problem began before or after the update. The Halloween patch is dated October 27; the preceding October 21 patch also contains crash and animation fixes. Do not assume that a video recorded before either patch describes the state of your current installation.
If files may be damaged, use Steam’s installed-file verification from the game’s Properties. Let the check finish before drawing conclusions, and keep any existing save backup separate from the installation. Verification is a diagnostic step, not a guaranteed performance fix. Avoid combining a reinstall, new driver, cache reset, and several graphical changes in one attempt: even if performance improves, you will have no idea which change mattered or what to reverse if another problem appears.
Use the published hardware targets correctly
The PC listing specifies Windows 10 or 11, 16 GB of memory, DirectX 12, 60 GB of available space, and an SSD. Its minimum CPU examples are the Ryzen 5 3600 and Core i5-10600K, paired with an RX 5600 XT or GTX 1660 Ti. The stated minimum target is 30 frames per second at 1080p on Low with upscaling. Treat that as a published configuration target, not a promise that every scene will hold that rate.
The recommended examples are a Ryzen 7 5800X or Core i5-13400 with an RX 6800 or RTX 3070. The listing describes 60 frames per second at 1440p on Medium with upscaling. A system near those specifications should therefore be compared with that stated workload before testing higher resolutions or maximum settings. Keep enough SSD space for updates as well as the game. An older hard drive or background disk activity can complicate a test even when the graphics card looks adequate.
Recreate a cache carefully, then repeat the route
The update’s cache note does not publish one file path that applies to every GPU and operating-system setup. Follow the supported shader-cache procedure for your graphics driver or operating system. Do not delete a folder merely because its name includes the game title, and do not touch save data as part of shader maintenance. Close the game first. If you cannot confidently identify the cache, stop that step and collect performance information before making destructive changes.
After cache recreation, avoid judging only the very first pass through a scene. Compare the same route again and record whether the behavior changes between passes. Some interruptions may occur while a system prepares resources, while other problems persist consistently. That distinction helps diagnosis; it does not establish that every hitch is shader compilation. Keep the route, resolution, and graphics preset identical during this comparison, and note whether an effect appears only when it is first encountered.
Change one rendering variable at a time
Begin with a sensible preset for the published hardware target, then test a lower rendering workload if the frame rate remains consistently below your intended target. Use the resolution and upscaling controls actually available in your installed build. Record the old value before changing it. Avoid copying a settings list that names options absent from your menu. A useful experiment is small enough to reverse and specific enough to show whether the graphics workload is contributing to the problem.
If a lower workload raises the average frame rate but leaves the same sharp pause at the same location, record both results. The improvement is real, but it has not resolved the interruption. If a frame-rate limit is available, compare a sustainable limit with an unstable higher target; consistent frame delivery may feel better than a higher average. Keep your display mode and background applications constant so that this comparison does not quietly become a different test.
Check drivers and background activity without chasing every warning
The October updates include changes to driver-warning behavior, including handheld-related cases. A popup is therefore a reason to check the installed driver through the device or GPU vendor, not proof that your hardware is unsupported. On a handheld, use the update path appropriate to that device rather than forcing a desktop package onto it. Record the driver version before and after any change, then rerun the same route instead of relying on how the menu feels.
Temporarily close unnecessary recording tools, browser tabs, and other demanding applications for one comparison. If you disable an overlay, change only that overlay and document the result. Keep security software and operating-system protections intact. An improvement with recording disabled tells you something useful about capture overhead; it does not prove the game’s renderer is fault-free. Once you find a stable configuration, restore optional applications one at a time to identify the condition that brings the problem back.
Know when to submit a reproducible report
Submit a crash report when the game requests one, and distinguish a crash from a long hitch or a temporary frame-rate drop. Include the chapter and location, hardware, driver version, display resolution, selected preset, and the shortest sequence that reproduces the issue. Describe whether the problem survives a restart and whether it happens on repeated passes. A brief clip can help show timing, but avoid including account details or unrelated private desktop content.
Stop broad troubleshooting when your next experiment would risk your save or requires an unofficial executable. Preserve your working configuration and the results already collected. The update explicitly aims to improve stuttering, but it does not guarantee every PC problem is solved. The practical goal is a repeatable, playable setup and a clear report for anything that remains. If performance stabilizes, resume normal play before adjusting visual quality upward one step at a time.
Continue with the Halloween update overview or the full-game guide index.