Valor Mortis Catalysts and Skills: Choose the Upgrade Your Encounter Needs
Plan Catalyst spending around a specific combat problem, compare survival and offensive options, and test an upgrade without invented farming yields.
By Valor Mortis Guide editorial team · Last updated
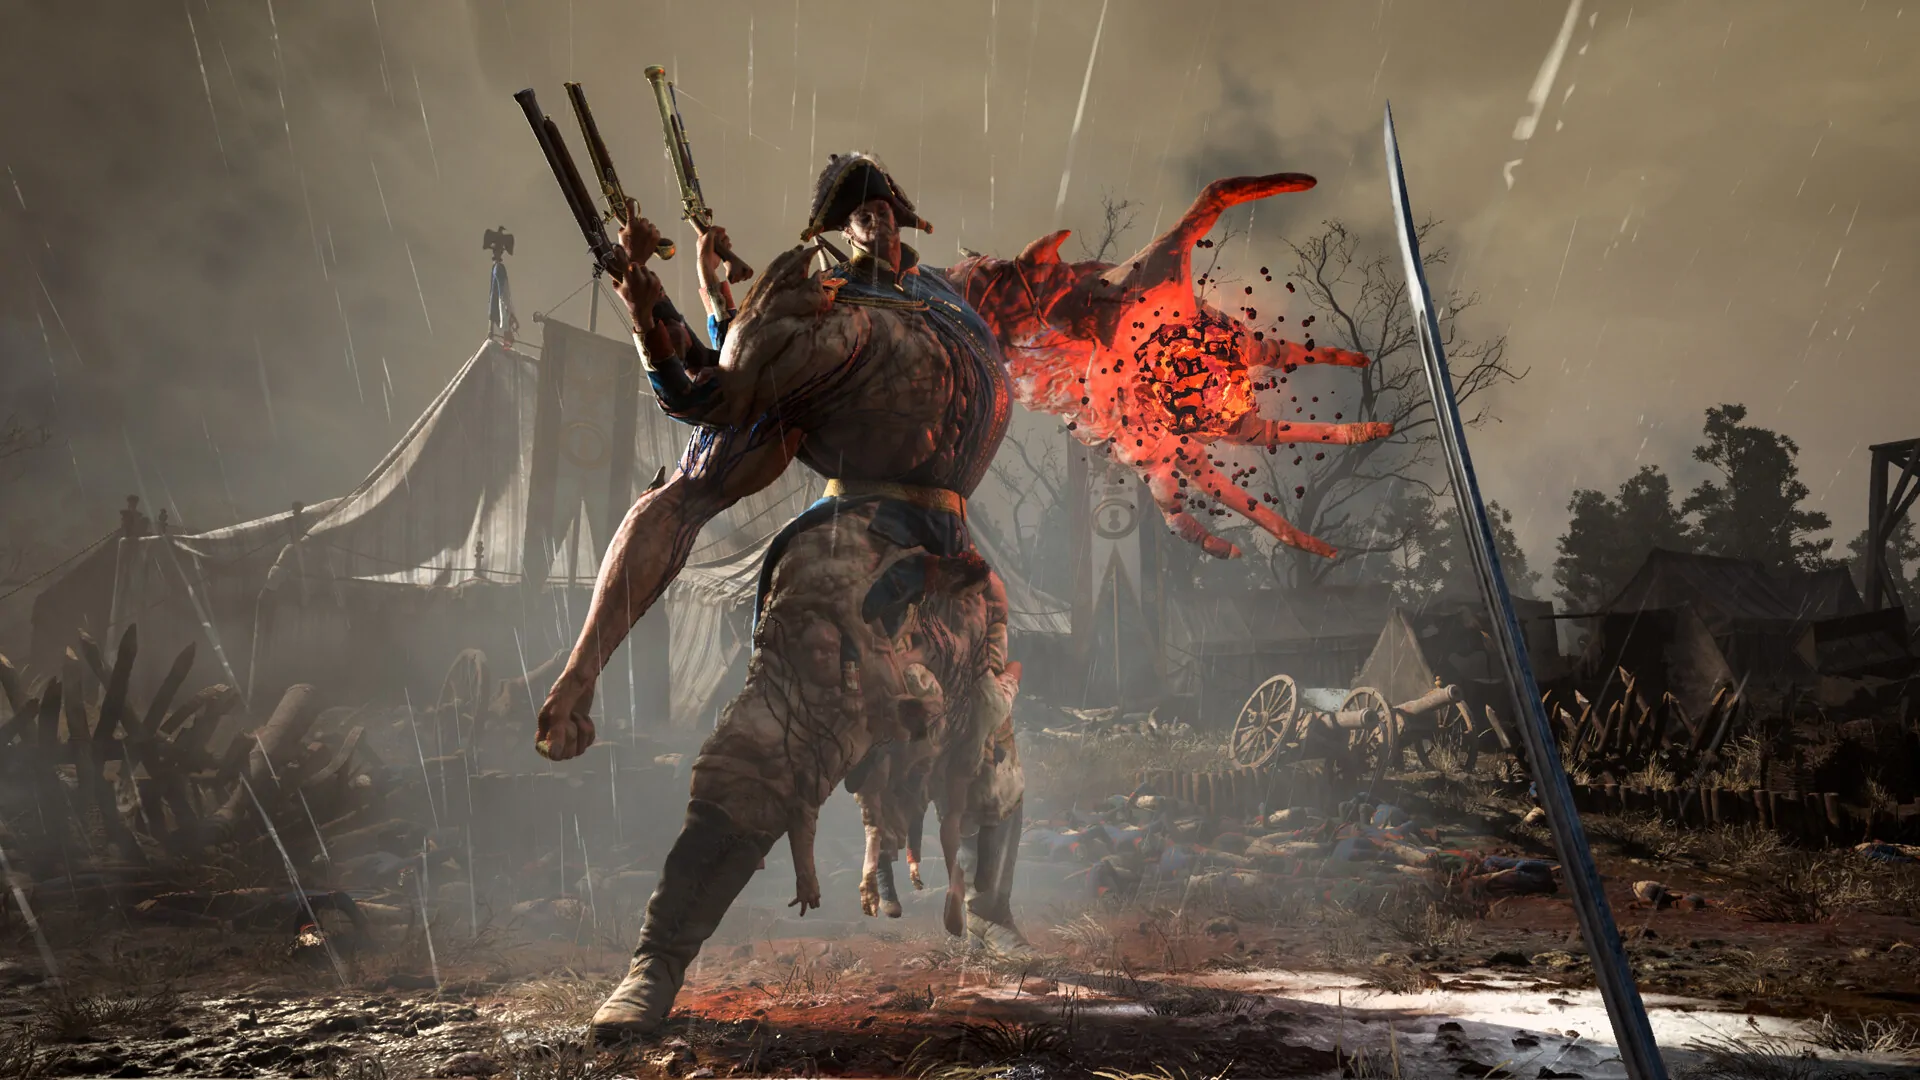
Choose an upgrade by the problem that repeatedly ends your attempt. If you lose control of a group, a damage purchase alone may not solve the approach. If you consistently reach an opening but cannot use it, the relevant weapon or resource choice may matter more. This is a decision guide for spending and evaluating upgrades, not a universal fastest farming route or a claim that one build wins every encounter.
Where Catalysts are spent
Rest at a Lantern and choose LEVEL UP. The documented level-up screen separates Catalysts held from the amount Required, and lists Maximum Health, Maximum Nephtoglobin and Maximum Endurance beside the upgrade board. The October menu capture shows a level-one character holding 40 Catalysts against a required 400. That is a dated example of reading the two values, not a claim that every purchase always costs 400 or that your character starts with the same balance.
Select the intended upgrade and read its description before confirming. A locked row and an unaffordable purchase are different obstacles. The screenshot also shows purchase counters on some nodes; a counter is not a universal four-purchase limit for every skill. Use the current board to identify which option is available to your character.
Three concrete decisions on the upgrade board
Health and Endurance answer different failures. Maximum Health gives a larger health pool; it does not extend an attack sequence. Maximum Endurance is the relevant option to inspect when the resource needed by your melee and defensive actions limits the exchange. Before prioritizing it, test a shorter attack string: if you can already defend after that string, the immediate problem may be commitment rather than capacity.
A power-focused plan must account for Nephtoglobin. Fire is a Transmutation that inflicts Ignite, with damage continuing after its initial hit. More room for a supernatural attack and an improvement to its damage are distinct upgrade questions. Do not buy a melee improvement expecting it to strengthen the separate Fire effect. Compare the relevant description and your ability to use that effect safely.
An action unlock is not a general stat purchase. Windhover’s Steam condition specifically requires pistol kills while Airborne Aiming. A larger health pool alone does not fulfill that requirement. Check that the named action is unlocked and performed correctly before buying unrelated damage simply because an airborne shot failed to register.
These examples explain the choice; they do not provide a measured optimal distribution. No damage-per-second test or universal cost curve was recorded for this page.
Inspect the purchase before committing
At an upgrade interface, read the exact cost, description and requirement shown in your installed game. Check whether you are buying a skill, improving equipment or changing an equipped effect. Similar-looking improvements can support different actions. Do not assume that a purchase aimed at one weapon also strengthens a firearm or supernatural attack.
Compare the displayed balance with the cost of the option you actually want. If an item is unavailable, identify whether the obstacle is currency, a prerequisite, an upgrade material or campaign access. Repeating an encounter for more currency will not solve a different missing requirement. Read any confirmation prompt before approving a purchase, especially when the game does not establish that it is reversible.
This guide does not promise a respec, a death refund or a particular amount of currency retained after dying. Those are separate mechanics that need confirmation in the current build. A spending recommendation should not depend on a supposed protection rule that the interface never states. The menu and skill examples above are documented UI observations; the practice sequence below is editorial advice.
Separate an execution error from a resource limit
Review the earliest avoidable error in a failed encounter. Did you attack before an enemy finished its sequence? Did another enemy enter the camera from the side? Did you use the intended defensive action but run out of its resource? These failures call for different changes.
For an execution problem, repeat the opening with a smaller commitment before spending. A larger resource pool can provide room to learn, but it does not make an incorrect response reliable. For a genuine resource problem, compare the upgrade description with the action that failed. An increase is relevant only if it affects the resource or action that limited the attempt.
The multi-enemy positioning guide addresses losing track of threats. The Rapier and Saber practice guide addresses defensive choices and follow-up commitment. Use those guides to identify the bottleneck before declaring that a new currency loop is required.
Build around one repeatable encounter plan
Write down how you intend to enter a fight, defend its first exchange, create an opening and leave enough room to recover. Then choose support for that plan. A melee-heavy approach, a firearm opening and supernatural pressure are ways of organizing an attempt; they are not three verified, numerically ranked builds in this article.
Keep a fallback action. If your intended opening misses, know whether you can move away, defend or wait for another opportunity. Spending everything on damage can be a poor match for a player who has not yet found that recovery. Conversely, additional survival capacity may offer little help when the problem is failing to take an opening that already appears consistently.
| Repeated problem | Inspect before buying | Useful comparison |
|---|---|---|
| You die before seeing the next attack | Positioning, incoming threat and survival options | Can you observe one more exchange? |
| You cannot defend after attacking | Action commitment and the relevant resource | Does a shorter sequence leave an escape? |
| Your planned follow-up is unavailable | Its requirement, ammunition or power resource | Can you reserve it for a confirmed opening? |
| Progress stalls despite clean attempts | Equipment state and the displayed upgrade effect | Does the option support the attack you actually use? |
The table is a practical diagnosis, not a hidden-stat formula. Check the current item text rather than treating an editorial preference as an official skill order.
Compare farming opportunities without invented yields
If you decide to repeat an encounter for resources, compare complete trips. Include travel, the fight, recovery and any return to a safe point. An enemy with a larger reward is not automatically more useful if reaching it takes longer or unsuccessful attempts consume supplies.
Choose a route you can complete consistently in your current build. Do not follow an exact chapter-and-Lantern farming table unless its route and reset behavior can be verified. This page does not publish universal enemy respawn guarantees, currency-per-minute figures or a recommended number of deaths.
Record what the game actually awards. Keep any equipped bonus, enemy type and route consistent while comparing attempts. If a bonus description says it changes rewards, distinguish the displayed effect from your measured return. One unusually good drop is not evidence that every run will provide it.
Stop when the purpose of the session is achieved. If you wanted one relevant purchase, returning to the blocked encounter after buying it often teaches more than extending the grind without a clear target. Keep enough attention for the encounter you originally wanted to improve.
Evaluate a purchase with a controlled return
Return to the same manageable encounter with the intended purchase equipped or active. Confirm that the interface shows it in use. Then repeat your original opening, rather than changing weapon, strategy and defensive routine at the same time.
Ask whether the improvement changed the specific failure. Did you retain an action after your attack? Did you survive the exchange long enough to read the next cue? Did you create the same opening with less resource pressure? These observations are useful even when the game does not display a full damage log.
If nothing improved, revisit the diagnosis. Do not buy several unrelated nodes merely to justify the first purchase. The limiting factor may be camera control, spacing, an unfamiliar move or a different requirement. Keep upgrade decisions connected to the encounter rather than to a generic claim that more grinding always fixes progression.
Preserve the difference between Demo and retail
An old Demo menu, resource balance or feature list is historical evidence about that app. It does not establish the cost or availability of a current retail skill. The Demo archive explains the app boundary, while the download guide distinguishes installation and save-transfer questions.
For campaign exploration, use the progression planning guide. It helps you separate a missing route or ability from a combat problem. Before spending on damage because a path is blocked, make sure the obstacle is actually an enemy you need to defeat rather than an access condition the game is asking you to investigate.