Valor Mortis Group Combat: Keep Enemies in View Before Committing
Handle multi-enemy fights in Valor Mortis with a practical positioning routine: read the room, control your view, isolate attacks, and reset safely.
By Valor Mortis Guide editorial team · Last updated
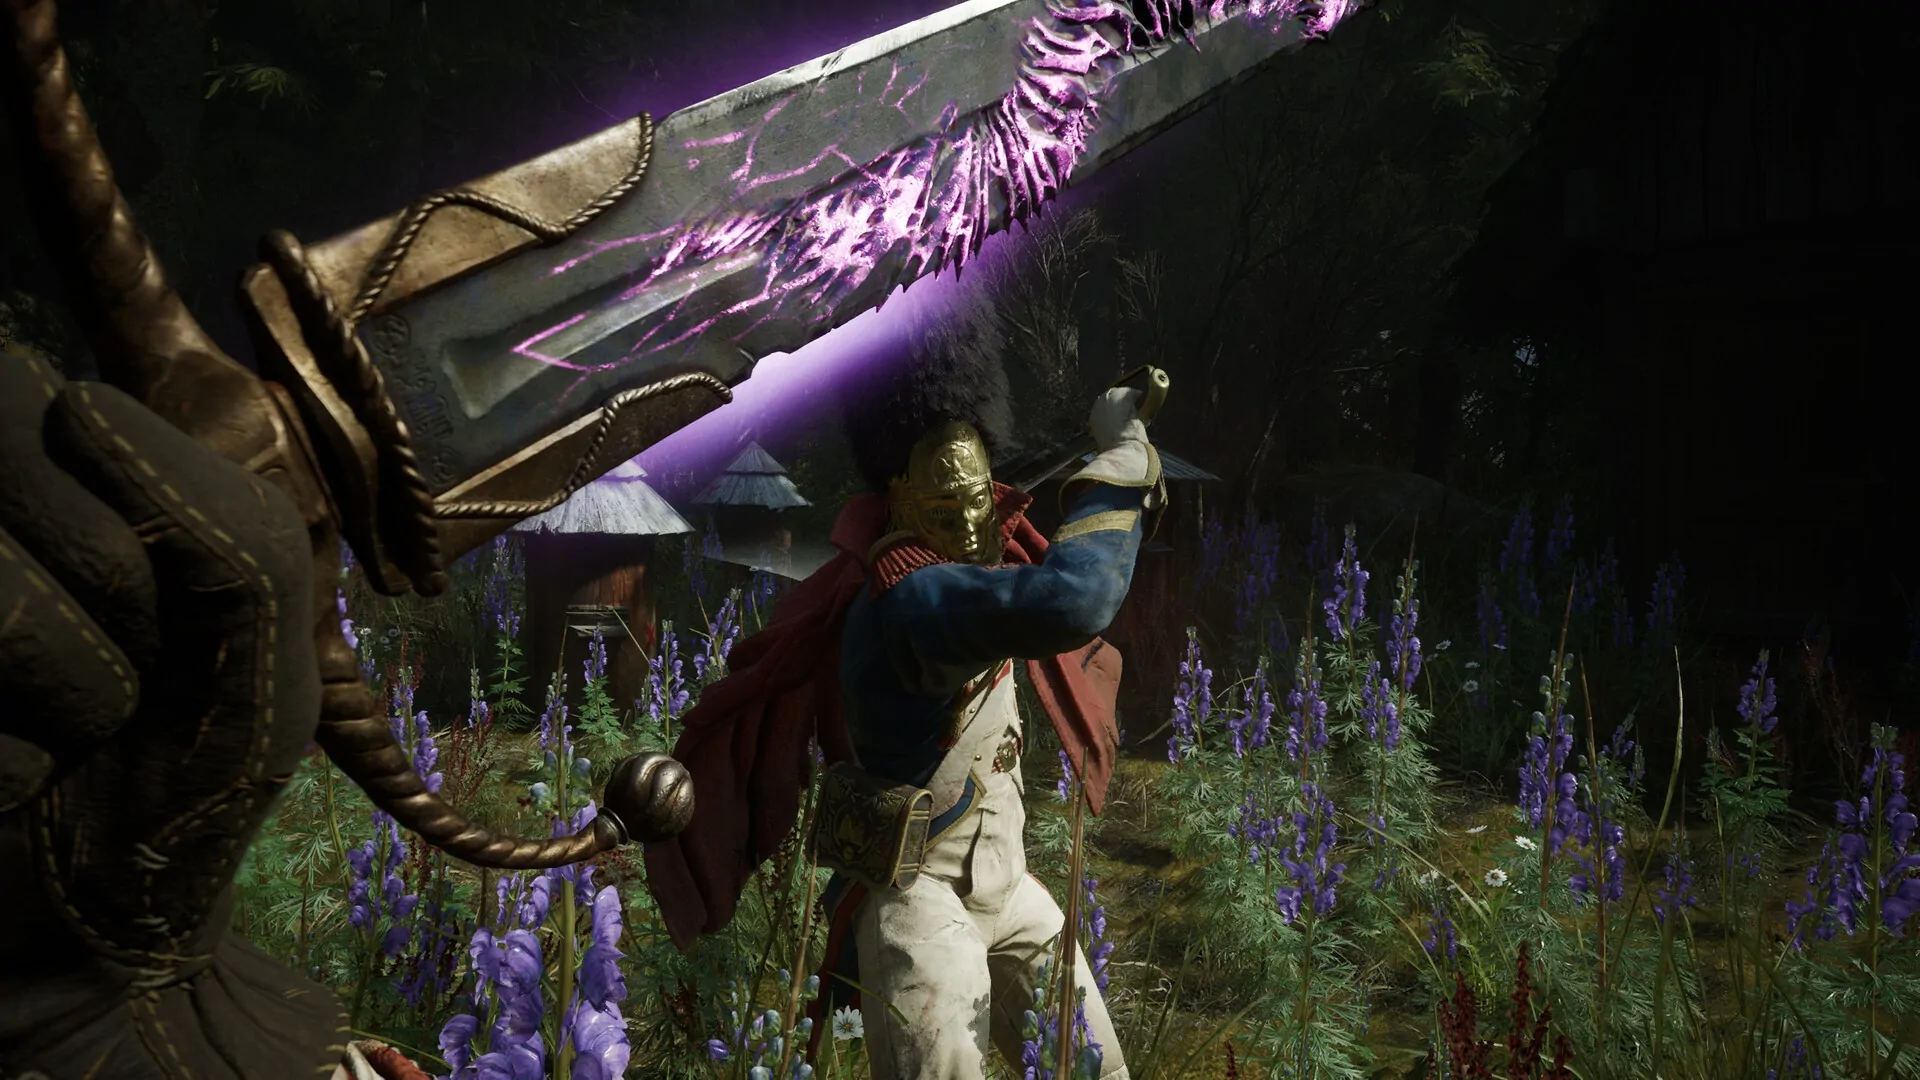
When several enemies pressure William, the first problem is often visibility rather than a missing damage upgrade. You cannot make a reliable defensive decision about an attack you have stopped watching. A useful group-combat routine is to read the space, keep likely threats in front of you, take a small opening, and reassess before extending the attack. This guide explains that routine as a practice method. It does not promise a hidden aggro radius, a guaranteed enemy leash, or a universal combo that defeats every group.
Pause at the edge of the encounter
Before entering a busy space, look at the enemies you can actually see and the terrain around them. Identify where you came from, whether a side passage could expose you to another threat, and which obstacles might interfere with movement. You are not trying to solve the entire room from a screenshot. You are choosing a starting position that gives you a readable view of the first exchange, instead of discovering the second attacker only after you have committed to an animation.
Keep your first objective modest: survive an opening exchange while maintaining awareness of the group. If that means delaying an attack to understand the space, the delay is part of learning. Avoid assuming that an apparently quiet enemy is inactive or that a doorway will block everything behind it. The game must demonstrate those behaviors. A good position reduces uncertainty; it does not make an untested assumption about enemy movement into a reliable defensive tool.
Track the nearest threat without forgetting the others
Your immediate opponent deserves attention, but it should not consume all of it. After a short exchange, check whether another enemy has moved into a position that changes your options. A useful habit is to connect each offensive decision with a quick situational question: can I still see the attacks that are likely to reach me? If the answer has become unclear, a brief reposition may teach more than another attempted follow-up.
This does not require sweeping the camera wildly after every input. Excessive movement can make the fight harder to read and interfere with your next response. Aim for small, intentional corrections that preserve the primary target while updating your view of the surrounding space. Use whichever supported targeting controls are comfortable in your installed version, but do not assume a lock-on feature automatically accounts for every enemy nearby. The important result is that you understand the scene your view is showing.
Make space before spending a long opening
Valor Mortis includes dashes and defensive actions alongside its melee and ranged tools. Use movement to change a specific disadvantage: an enemy behind you, a wall cutting off your retreat, or two attacks arriving from angles you cannot comfortably read. Moving merely because a button is available can leave you in a worse position. Decide where you want to finish the movement and check that the destination does not introduce another unknown threat.
If the game allows you to retreat to a clearer area, use the extra visibility to study the encounter rather than assuming retreat always breaks pursuit. Avoid building a strategy around an enemy refusing to cross a particular edge until you have tested that behavior repeatedly. Even then, a terrain interaction may be vulnerable to changes in an update. A sound practice routine should still make sense when opponents follow normally and you have to defend instead of relying on an unintended obstruction.
Shorten your offensive commitment
Against a group, a successful defense against one enemy does not prove that every other attacker is now harmless. Take a deliberate follow-up and read the scene again before adding more. If you are repeatedly hit during the second or third action, reduce the commitment and identify what changed during that time. Another opponent may have approached, or the original target may have begun a new sequence. The mistake can be about timing and awareness rather than weapon choice.
This is where practice differs from a damage demonstration. A clip showing a long uninterrupted sequence may begin from conditions you do not share. Learn what gave that player the space before copying the inputs. Keep your weapon and upgrade state consistent while comparing attempts so that the experiment stays readable. Once a short sequence becomes reliable, extend it only when the current encounter gives you a clear reason to believe the extra action is safe.
Use ranged tools with an exit plan
A ranged action can be useful, but it does not suspend the rest of the encounter. Before committing, check the threats that remain near you and the action you intend to take afterward. A shot that lands while you lose awareness of a nearby attacker may not improve the situation. Read the weapon’s live behavior and remaining resources instead of treating every moment at distance as a free opportunity to fire or reload.
This page does not replace the single-opponent parry-and-pistol lesson. Its question is what happens around that exchange when other enemies are present. After practicing a familiar follow-up, ask whether the same action still fits the wider scene. If it does not, shorten the sequence or reposition first. The useful skill is recognizing why an action that works well in a duel may require more preparation in a group, rather than deciding that the underlying duel advice was wrong.
Introduce powers one at a time
William’s supernatural abilities add options, but a new effect is easiest to understand inside a routine you already know. Choose one ability you currently have access to and decide what problem you want it to address. Then watch the actual effect on the targeted enemy and the surrounding group. Do not infer a room-wide effect from one visually dramatic result. The game’s descriptions and repeatable outcomes should determine what you can rely on next time.
Avoid spending several different resources at once simply because the room feels chaotic. If the attempt succeeds, you may not know which action created the opening; if it fails, you may not know which resource was wasted. A controlled experiment is more useful. Use one power in a recognizable situation, record whether it helped you regain a readable position, and compare another attempt. This builds practical confidence without inventing duration, immunity, or damage values that the available information does not establish.
Separate combat confusion from technical problems
The October patches address hitboxes, damage windows, and several specific bugs. Keep the game updated before comparing current encounters with old footage. If an attack appears inconsistent, record the enemy, location, and action rather than diagnosing every failure as a broken system. At the same time, do not dismiss a repeatable technical problem as a skill issue. A consistent example on the current build deserves a clear report, particularly if it occurs from the same position and sequence.
Performance can also complicate reading a crowded fight. If the game is hitching, use the dedicated PC troubleshooting guide before changing your entire combat approach. This article assumes the game is responsive enough to observe and repeat a decision. Keep the two investigations separate: a smoother frame rate may improve readability, while better positioning may improve your decisions. Neither result alone proves that every remaining difficulty has the same cause.
Review the first loss of control
After an attempt, find the earliest moment the encounter stopped being readable. Perhaps a second enemy left your view, you backed into clutter, or you extended an attack without checking the room. Focus on that moment instead of the final hit that killed you. The final hit may simply be the result of an earlier decision that reduced your options. A specific review gives you a manageable change for the next attempt.
Set one improvement target and repeat the encounter under similar conditions when practical. Keep the group in view for longer, avoid the same corner, or stop after a shorter follow-up. Do not demand a perfect clear before counting that improvement. Surviving a previously confusing exchange with a clearer understanding is meaningful progress. Once the position and timing become familiar, resume normal progression and apply the method cautiously to new enemy combinations rather than assuming every room follows the same pattern.
Frequently asked questions
Should I always retreat from several enemies? No. Reposition when it solves a visible problem, and check where it leaves you. A retreat into an unobserved passage can make the encounter worse. Should I always eliminate the weakest enemy first? Not without understanding its position and the pressure from the others. Choose a target that creates a manageable opening, rather than following a ranking that ignores the actual room.
Is this a new patch or an optimized build? Neither. It is a focused combat-learning guide prompted by continuing player difficulty discussions, checked during the November 10 review. The latest official update found in that check remains the October 27 release. No new balance values are claimed here. The central routine is durable: read the space, keep threats visible, commit briefly, and reassess. Use your current weapon and abilities to carry it out, then let repeated observations refine the details.
Read the single-opponent parry lesson, Rapier and Saber practice, and PC stutter checklist.