Windhover: line up three pistol kills while airborne
A practical retail Valor Mortis Windhover achievement setup: prepare the pistol, choose safe high ground, and track airborne kills without inventing a hidden counter.
By Valor Mortis Guide editorial team · Last updated
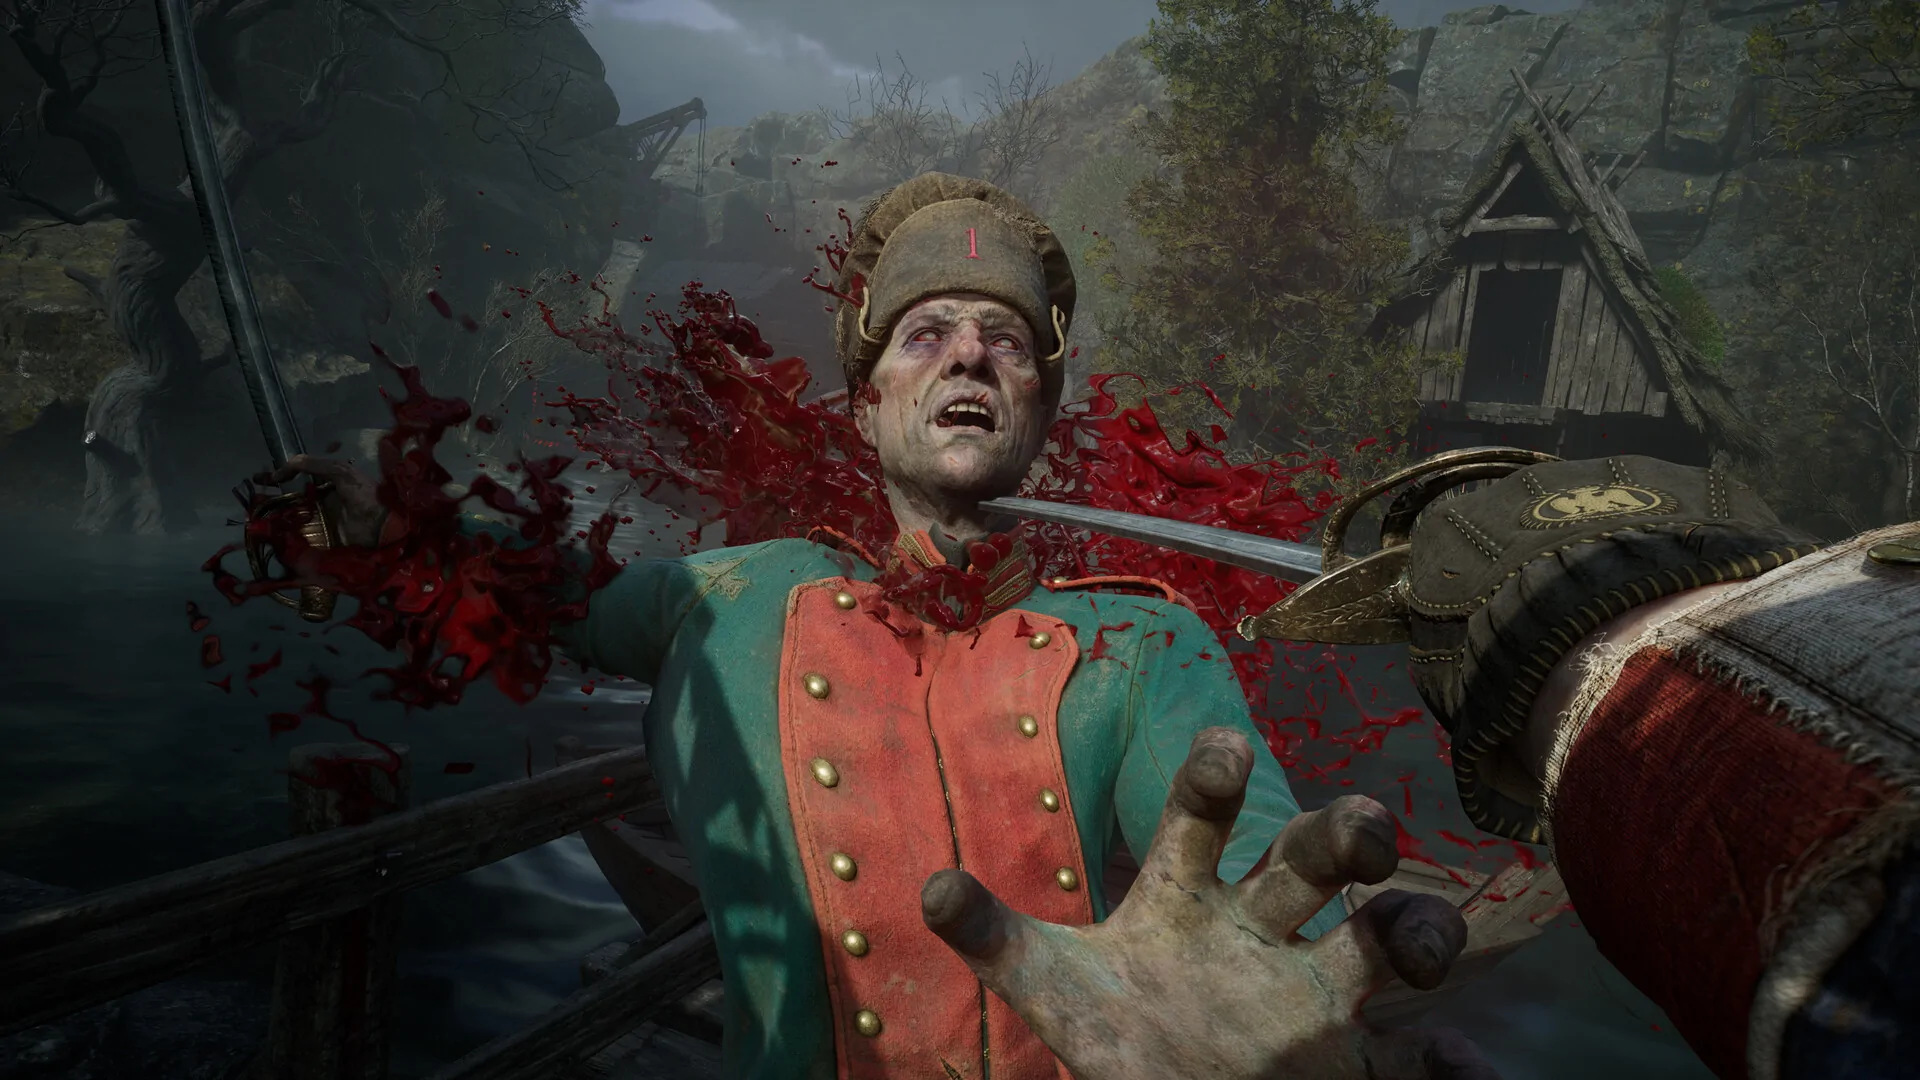
Windhover asks you to kill three enemies with the pistol while using Airborne Aiming. The requirement is short, but it combines an unlock, a movement state, a weapon choice, and a kill. A normal pistol kill does not count if William is standing on the ground, and an airborne hit is not enough if the enemy survives.
The cleanest approach is to prepare the skill before attempting the achievement, find a repeatable encounter with room to jump, and make each attempt deliberate. Do not burn ammunition into a boss and hope the game understands what you meant. Use a weaker, predictable enemy, aim while airborne, and keep your own provisional attempt count and confirm the final unlock in Steam.
What the requirement means
The achievement description has three parts: the weapon must be the pistol, William must be airborne while aiming, and the shot must kill an enemy. The retail achievement checklist recommends using a pistol during the Airborne Aiming window. It does not specify a required enemy type, a particular chapter, or an exact button sequence that works across every control layout.
Airborne Aiming is a skill, so check the skill tree and unlock it before setting up the kills. Do not confuse it with a wall jump, a grapple, or simply firing after leaving the ground. The important test is whether the game has entered the airborne aiming state when the pistol shot lands. If your shot fires before the aim state begins, it may be an ordinary pistol kill.
Prepare before you start
- Unlock Airborne Aiming. Make sure the node is active in the retail skill tree. The achievement guide identifies it as the setup for Windhover.
- Equip the pistol. Keep it selected before you jump so you are not changing weapons during the short aiming window.
- Check ammunition. Start with enough pistol rounds for several attempts. A miss should cost time, not force a long return to a Lantern.
- Choose a familiar encounter. Use an area you can reach safely and where enemies are not already in a boss phase or packed too tightly.
The best attempt is one you can repeat. An ordinary enemy near a known Lantern is usually more useful than a late-game elite with a large health pool. You need a target that can be defeated by one airborne pistol shot or weakened safely before the final airborne shot.
A repeatable attempt loop
Find a safe edge or open patch of ground near an enemy. Make sure the jump will not carry William off a ledge or into another group. Face the target before you leave the ground, then jump and use the Airborne Aiming input shown in your current controls. Fire at the target while the aiming state is active.
If the target survives, do not keep firing from the ground and count that as progress. Move back to a safe position, weaken the same enemy with a controlled attack, and reserve the finishing pistol shot for the airborne aim. The achievement tracks kills, not just airborne damage, so the final blow is the part to protect.
Repeat the same setup for the next target and count only kills whose finishing shot you clearly fired during Airborne Aiming. After three qualifying kills, check whether Windhover unlocks. If it does not, review the aiming state and the source of each final blow before repeating the sequence; do not assume the game exposes a live progress counter.
Use enemy health to your advantage
If your pistol is upgraded, a weak enemy may die before you can control the setup. That can be helpful when the Airborne Aiming shot is reliable, but it removes your chance to soften the target first. Against a tougher enemy, use melee or another controlled source of damage, then disengage and finish with the airborne pistol shot.
Avoid area Transmutations for the finishing step. Fire or another power can kill the target and leave the pistol requirement unmet. The last hit should clearly come from the pistol while Airborne Aiming is active. If an enemy is standing in fire or taking damage from a lingering effect, wait until the effect is gone before the final shot.
Do not assume the pistol needs to be fully upgraded. The known requirement is three kills, and the achievement checklist does not state an upgrade level. Choose the least damage necessary to make the final shot predictable. If your current upgrade makes every target die too quickly, select a sturdier enemy rather than changing the achievement conditions in your notes.
Common reasons a kill may not count
The shot was fired before the aim window. Jumping and firing immediately may not give Airborne Aiming time to activate. Start the action, confirm William is aiming, and then fire.
The pistol hit but did not kill. The requirement is a kill, not a hit. If an enemy survives, weaken it and save another airborne shot for the finish.
Another effect delivered the final damage. Fire, a Transmutation, or another damage source may finish the enemy after the pistol hit. Use a clean target and watch the health bar.
The enemy died while William was grounded. It is easy to land just before the shot. Keep the attempt deliberate and avoid jumping from uneven ground where the timing is difficult to read.
The wrong weapon was equipped. Confirm the pistol is selected. A firearm may look similar in the inventory, but the achievement specifically asks for pistol kills.
A kill came from an environmental fall. Do not use a ledge or hazard to defeat the target. The clean proof is an enemy killed directly by the airborne pistol shot.
Make the setup safer
The rapier is useful for controlling an enemy’s health before the finishing shot. The pistol should be ready for the end of the sequence, not used as an opener that leaves you reloading while the target attacks. A parry can also create breathing room against a soldier, but do not assume that a parry automatically puts William in position for Airborne Aiming. Reset the spacing first.
You can attempt the challenge during normal progression when a suitable encounter appears, or return during cleanup. Keep the route simple and do not chase a difficult target solely because it is nearby. If the current enemy has too much health, the terrain is unsafe, or the fight has multiple attackers, move to another repeatable area.
Progress tracking and retry discipline
The achievement list shows whether Windhover has unlocked. If it has not, change only one part of the next attempt: improve the timing, ensure the pistol is equipped, or use a lower-health target. Changing the enemy, weapon, skill, and location at once makes the result harder to diagnose.
Count three confirmed kills in your own notes while the game tracks the achievement. If the list stays unchanged after a clear airborne pistol kill, do not invent a hidden streak or no-damage condition. The published requirement is three airborne pistol kills. Recheck the skill activation and weapon, then test another clean enemy.
Short route summary
- Unlock Airborne Aiming.
- Equip and load the pistol before entering the encounter.
- Choose a safe, repeatable enemy near a Lantern.
- Weaken a durable target if needed, then use the pistol for the final hit.
- Aim during the airborne skill window and verify the kill.
How this differs from the 39-achievement checklist
The full achievement guide lists Windhover among the weapon and movement feats. This page focuses on the specific setup and failure checks for its three kills. It does not claim an exact chapter, enemy, upgrade requirement, or hidden streak because the achievement requirement does not provide those details. For other movement challenges, use the main checklist and record the actual condition shown by Steam.