How to Beat General Lothaire in Valor Mortis: Arena and Attack Openings
Keep clear of Lothaire’s burning arena edge, choose a readable attack opening, and separate player-reported Fire tactics from patched combat bugs.
By Valor Mortis Guide editorial team · Last updated
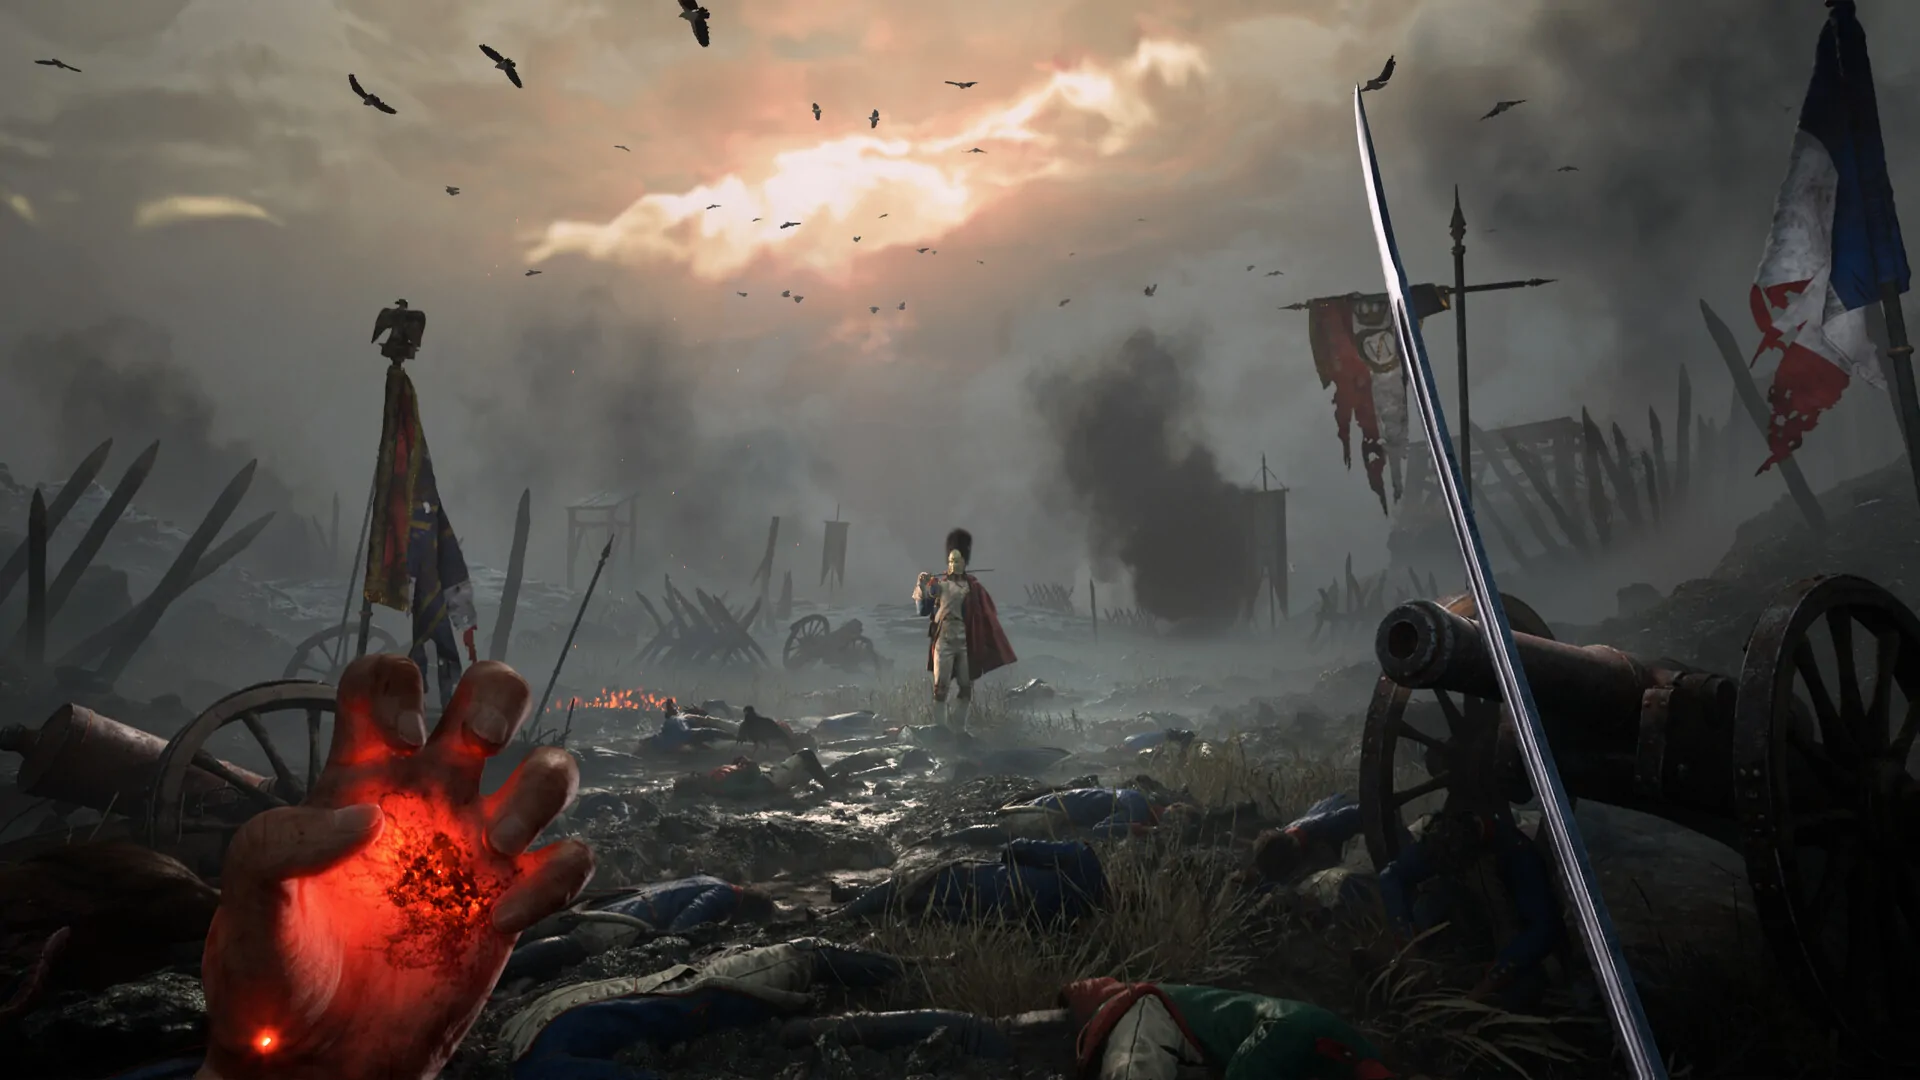
Against General Lothaire, protect your escape space before adding another attack. Repeatedly retreating toward the burning arena boundary can end an otherwise controlled attempt. Player reports describe a more manageable opening: evade the initial ranged pressure, move sideways from his leap, and use the landing recovery for a short punish. Fire and firearm weak-point shots are options reported by players who have those tools, rather than a required loadout or a guaranteed stagger loop.
This guide separates those observations from official patch fixes. It does not establish a chapter-skipping route, an item pickup location, or a numerical parry window. Use the equipment and encounter state actually available in your save.
Fix the arena problem first
The Steam discussion “How Do I Get Passed the First Boss…” begins with a specific complaint: Lothaire walks forward while the player backs into the arena boundary and catches fire. That is a different problem from missing a parry. Adding a longer attack sequence will not create an exit once your retreat has already reached the hazard.
Before the next exchange, identify open ground beside you. Move at an angle while keeping Lothaire visible, instead of spending the whole approach moving straight backward. Stop an attack early if continuing would leave your back against the edge. The useful result is room for the next defensive action, even if this attempt deals less damage.
Players disagree about target lock. Some prefer it disabled for quicker camera checks; the original poster says they were already playing without it. Therefore, disabling lock-on is an option to compare, not the solution by itself. Keep the setting that lets you see both the incoming action and the space you need to leave.
| What ends the attempt | Try next | What that does not prove |
|---|---|---|
| You catch fire while retreating | Shorten the retreat and move toward visible open ground | Every hit was caused by bad timing |
| You cannot find an attack opening | Observe the ranged opening and leap before committing | The boss must be permanently passive |
| Your punish empties the power resource | Use a shorter Fire commitment and inspect the remaining meter | Fire always provides an endless stagger loop |
| You lose sight of another threat | Reset your camera and position before attacking | Every additional enemy can safely be ignored |
Use the reported leap opening conservatively
One reply describes staying back through the opening shots, dodging sideways as Lothaire lands, then using Fire during the recovery. The player follows a stagger with a short sword punish before moving away. This is a useful sequence to test because each action has an observable trigger; it is not a promise that every approach produces the same response.
Start with the movement portion. Watch the incoming shots and the landing, then check where your dodge leaves you. If you finish close to the burning edge, correct that position before adding Fire. Once the route leaves enough room, try a brief punish and retain an exit rather than copying the reply’s entire sequence at once.
The same reply says Lothaire may follow the first landing by pursuing and swinging before returning to the ranged-and-leap pattern. Do not stand still waiting for another jump while ignoring the intervening approach. Read the action he actually performs, defend it, and reset toward open ground.
Fire and weak points: use the tools you actually have
Players in the thread recommend firearm shots at visible body weak points. One reports that the resulting drops replenish the resource used for Fire, and describes using a regeneration option as well. Those are individual observations. Watch the resource meter in your own encounter before relying on that replenishment to fund the next cast.
If the firearm or regeneration option is unavailable in your save, do not treat the suggested routine as a progression requirement. You can still practise spacing, recognize the landing recovery, and take a smaller melee opening. This page does not claim where a specific Amber is obtained or that losing a particular encounter grants the missing equipment.
Avoid spending the full power resource simply because an early cast connected. Reserve enough attention to defend the next action. A failed second cast can turn a good opening into an unsafe commitment. For choosing purchases around a demonstrated resource limit, use the Catalyst and skills guide.
Choose a second-phase plan you can read
The replies do not describe a single universally easier second phase. One player finds its attacks easier to parry; another prefers distance, firearm opportunities and Fire while avoiding a complicated close-range exchange. Treat that disagreement as a reason to choose a readable routine, rather than evidence that one player discovered the required method.
If close-range exchanges overwhelm you, reduce the length of your punish and re-establish sight of the boss before attacking again. If ranged pressure leaves you repeatedly pinned at the boundary, retreating farther is not solving the problem. Change the angle and reclaim space when the current action allows it.
When additional enemies or effects occupy the arena, check the immediate threat before casting. A player’s successful attempt while ignoring other threats does not establish that ignoring them is safe in every position. The multi-enemy positioning guide focuses on keeping attacks and exit space visible.
Distinguish encounter pressure from a patched bug
The October 21 update fixed Burning persisting after respawn. It also fixed a state where being hit while crouching could leave the player permanently slowed and unable to jump. Those specific failures should not be accepted as normal costs of learning Lothaire. Confirm your installation is current and report a repeatable recurrence with the platform and trigger.
That patch also adjusted many enemy and boss hitboxes. It did not publish a new Lothaire frame chart or guarantee that every apparent miss has the same explanation. If the problem is a missing achievement after a simultaneous player-and-boss death, use the separate boss recovery checklist before repeating the fight.
For the next attempt, choose one clear goal: keep away from the burning boundary, recognize the leap recovery, or retain enough resource to disengage after your punish. Carry a successful opening into the next attempt. You do not need an unsupported chapter route or a damage multiplier to make those decisions more reliable.